The wonderful thing about trees is that they are all unique, no tree is the same and they all grow in weird and wonderful ways. The downside is, some trees can form weak unions/attachments or have certain limbs that are over extending because they are reaching for the light. In an urban environment this can be of concern as they pose a potential threat to people and property. Trees are aesthetically pleasing and provide added value to a city such as Vancouver. Therefore, preservation is an important part of tree care.
There are several methods used to help preserve trees by using supplemental support systems, such as cabling, bracing, guying and propping. This article focuses on cabling and provides an insight into one of the cabling techniques we use.
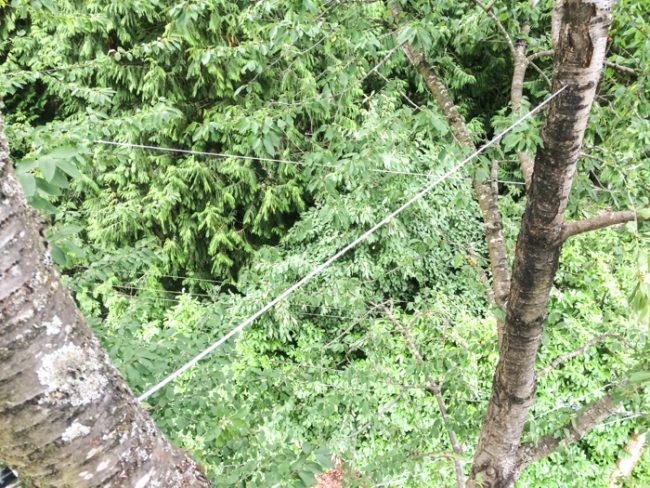
Quite often our clients ask if cabling is where you wrap cable around the tree. They are concerned it may look unsightly and are unsure of how it actually works. In fact cabling is very subtle and in some cases almost unnoticeable. The cables are installed in the canopy and are not wrapped around the tree but stretch, individually from one limb to another as can be seen in the image below.
Why do we install cables?
There are three main reasons why we would install a cable or supplemental support system
1. Prevention – to reduce the chance of limb failure on an otherwise healthy tree that has potentially weak unions/crotches
2. Preservation – to preserve the existence of a damaged or weak tree for its amenity or aesthetic value
3. Protection – to mitigate the chance of failure in a potentially hazardous tree or one which poses a high risk e.g. if it is located over property of a frequently populated location like a park bench or footpath.
The most common cable installation is the simple or direct cable, one cable between two limbs. Sometimes a tree will require more than one cable.
In the simplest form cabling is essentially a single cable which is installed directly into one limb of a tree and runs to another limb. The cable reduces (but should not restrict) movement and stress on the weak point and helps mitigate the risk of failure.
The Cable Installation Process
The first step is for a professional arborist to assess the tree and determine the most appropriate hardware.
There are several different types of wire cabling devices which can be used. In this particular process we are using extra high strength cable with a Rigguy Wire Stop system.
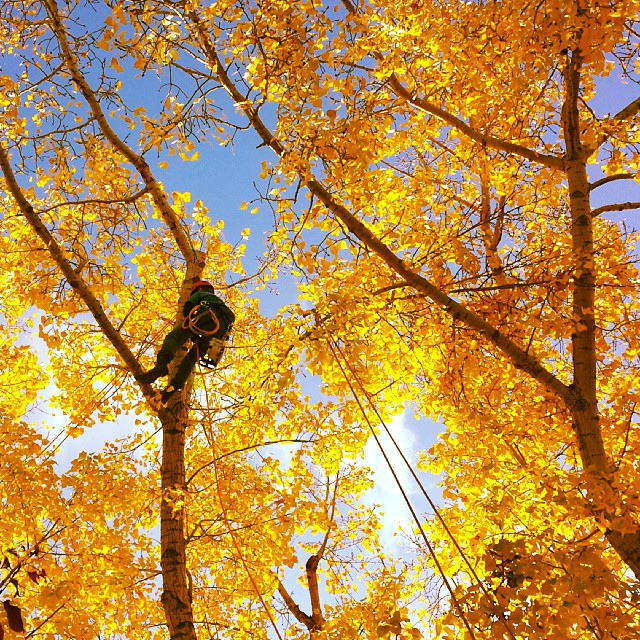
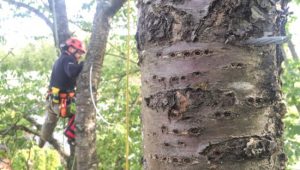
Once the arborist assessment and recommendations have been given, the climber accesses the tree and locates a position at least 2/3 between the point of weakness to the end of the branches. The point of installation is inspected to ensure that the wood is structurally sound to hold the hardware and that it is solid and large enough to provide adequate support. It may also be necessary to carry out some end weight reduction on the limbs by selectively pruning some of the branches to help reduce the weight and stress on the weak point.
A hole just bigger than the cable is drilled directly through both stems
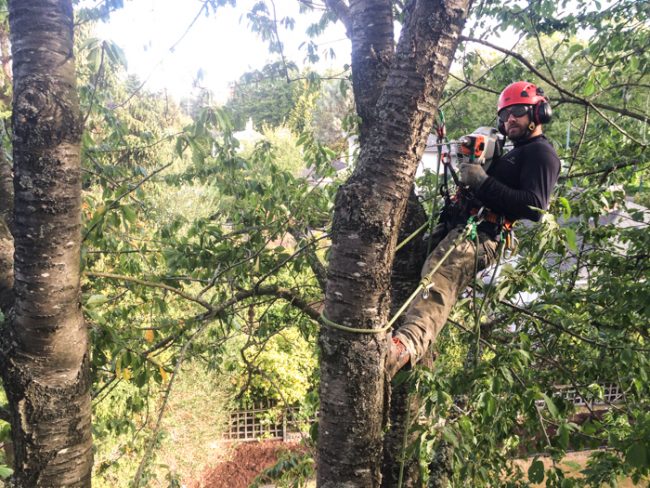
The cable is cut to length and threaded through the holes. It is important that the cable’s pull is in direct line with the weak point to provide the most amount of structural support.
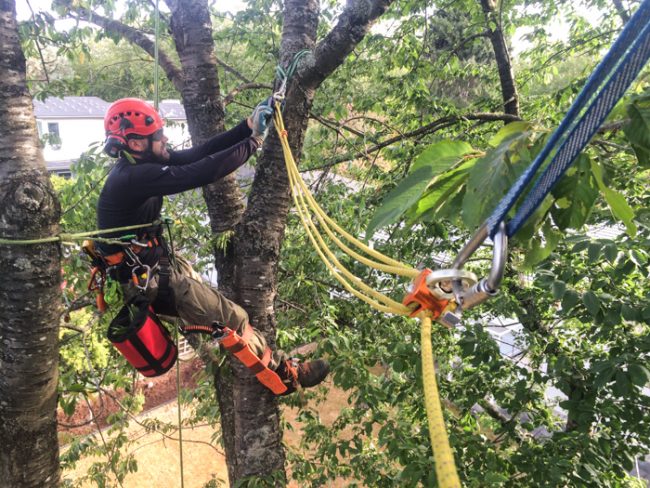
A “come along” (as seen in the image below) is a pulley system which is connected to the two stems and when it is pulled tight it brings the two stems closer together so that the cable can be set to the correct tension.
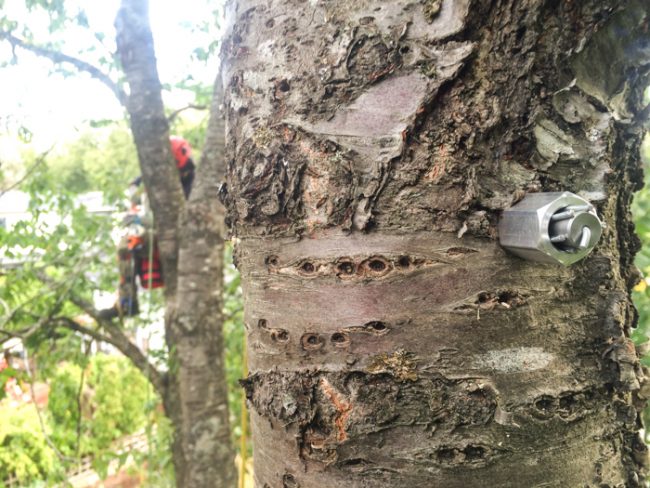
The Rigguy cabling system utilizes a cone shaped wire stop which eliminates the need for larger, more cluttered hardware and can be used in more applications as it is secured on the outside of the limb.
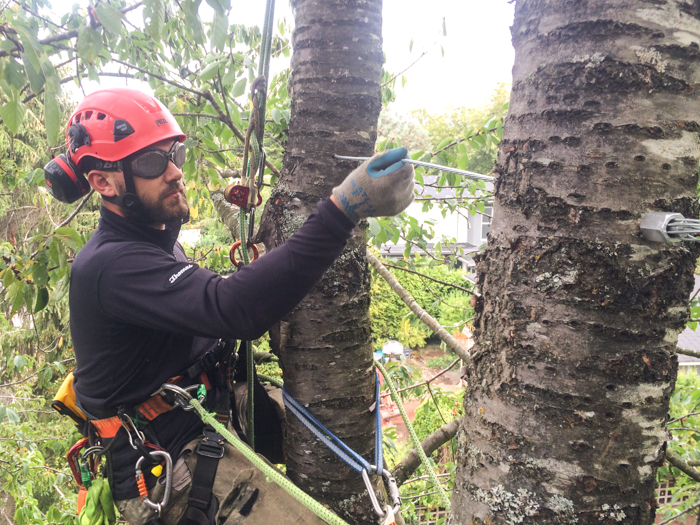
One end of the cable is set and the wire stop is fully installed. The come along is engaged and the second end of the cable is temporarily set so that the come along can be released and the cable can be checked for the correct tension.
The cable should be just taut, not too slack and not too tight. If the cable is too tight it may put excessive stress on the wood fibers, resulting in more damage at the defect or causing the hardware to pull out. Equally if the cable is too slack then it will not be performing its job in reducing movement and stress in the limbs. The tension can be readjusted by engaging the come along and temporarily resetting the wire stop. Once the arborist is happy with the tension the wire stop can be fully set and the finishing cap installed. The finishing cap covers the sharp wire ends and provides a more finished appearance. This system is installed following the ANSI A300 (Part 3) support system standards.
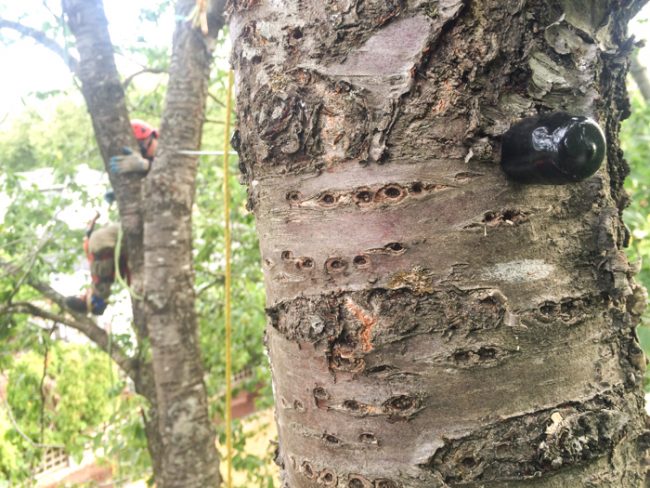
The cable is now fully installed and the job is complete. In order to be effective the cable should be checked by a qualified arborist on an annual basis to ensure there is no damage and that it is still set at the correct tension.
Examples of when a cabling support system may be required
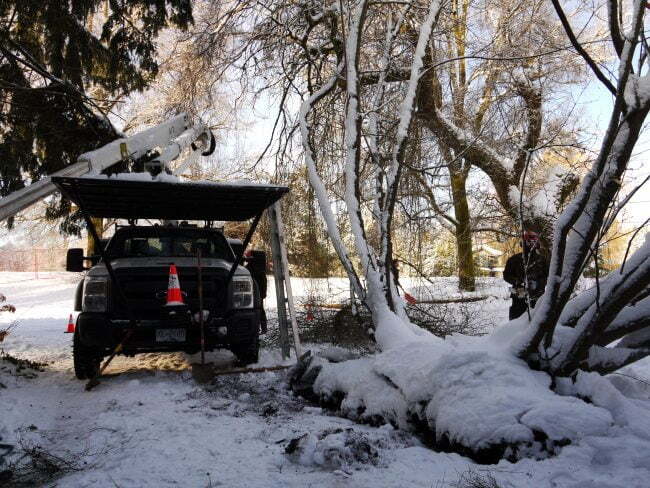
The junctions between codominant stems are often considered the weakest portion of a healthy tree. Support may be needed because split or decayed branch unions, or those with included bark, may pose a higher risk of failure. Multi-stemmed trees are susceptible to breakage under the stress of wind or the weight of accumulated ice or snow. Branches that pose a potential threat to property or people may be suitable for cabling.
The following photographs demonstrate some examples of weak unions.
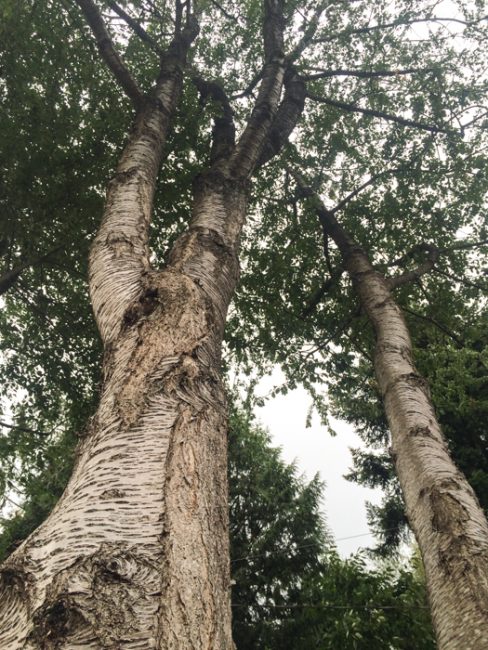
Looking into a cherry tree with large co-dominant stems which present a potential hazard
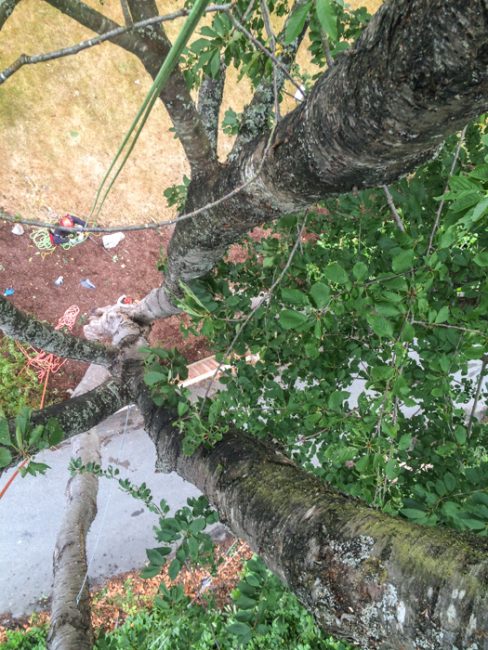
Looking down the same cherry tree at the weak unions of the codominant stems
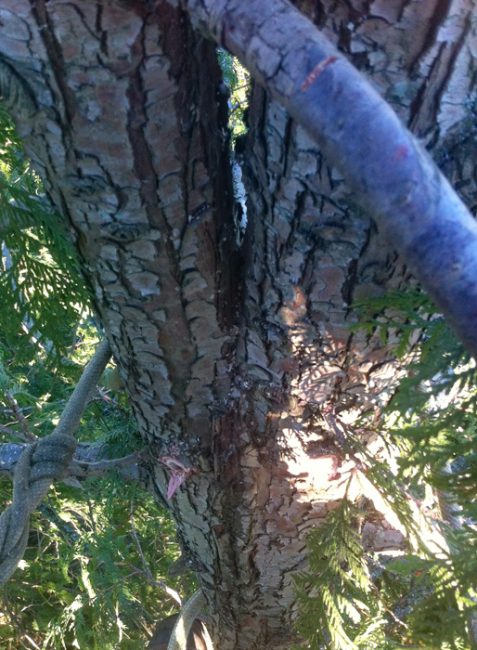
Co-dominant stems in a western red cedar tree with included bark
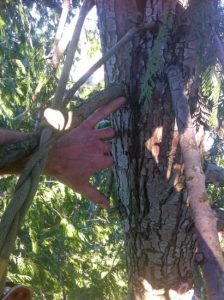
The area of included bark which forms a weak union and increase the risk of limb failure
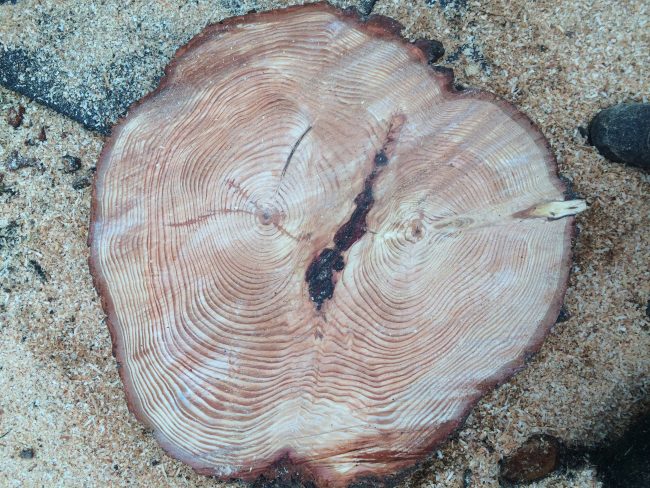
A cross section of Douglas fir showing what included bark looks like where there are codominant stems. The dark line in the center of the cross section is the area of included bark.
What cabling does and doesn't do
Cabling is a targeted fix for one specific weak point, not a guarantee that the whole tree is safe in a storm. A 2025 University of Massachusetts study measured how 34 mature littleleaf lindens and American elms moved in wind and under load, some with cables or braces and some without (Dee et al., 2025). Support systems modestly reduced movement at the specific point where they were attached, but they did not meaningfully change how much the tree moved overall. Species and branching structure had a large effect on movement. Whether a system had been installed had a much smaller one.
That is why cabling is one option among several. Depending on the defect, the tree, and what is underneath it, the right answer may be pruning, a different support system, monitoring, or removal. Installed cables also need regular inspection, as described above.
Support systems are covered by industry standards. ANSI A300 Part 3 addresses supplemental support systems for trees, and the ISA Best Management Practices for tree support systems is the companion guide to it.
For an example of guying and cabling used together on one tree, see Tree Cabling and Guying: Saving a Snow-Damaged Vine Maple.
Reference: Dee, S. R., Gerasimidis, S., Arwade, S. R., Halperin, A., Vitalis, T., & Kane, B. (2025). The comparative effects of arboricultural cabling, bracing and species-specific morphology on tree biomechanics. Urban Forestry & Urban Greening, 112, 128923.